

Maybe you just bought a home or are doing some remodeling and you noticed that there’s a gap between the vanity top and wall. So, what should you do then? How do you fix this? Don’t sweat it because we did all the research to get the answers for you!
Gaps between the vanity top and wall can be solved in two ways. You can either caulk to fill up the space or you can simply add a trim to the gap.
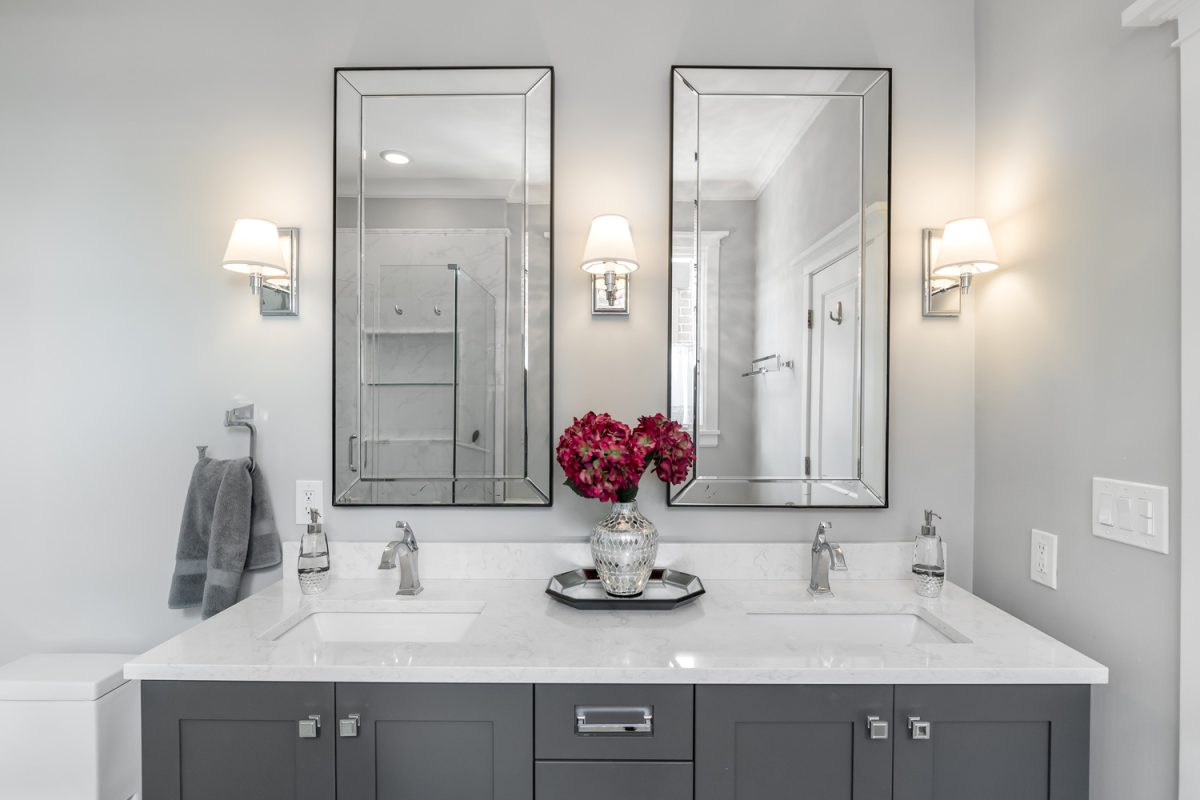
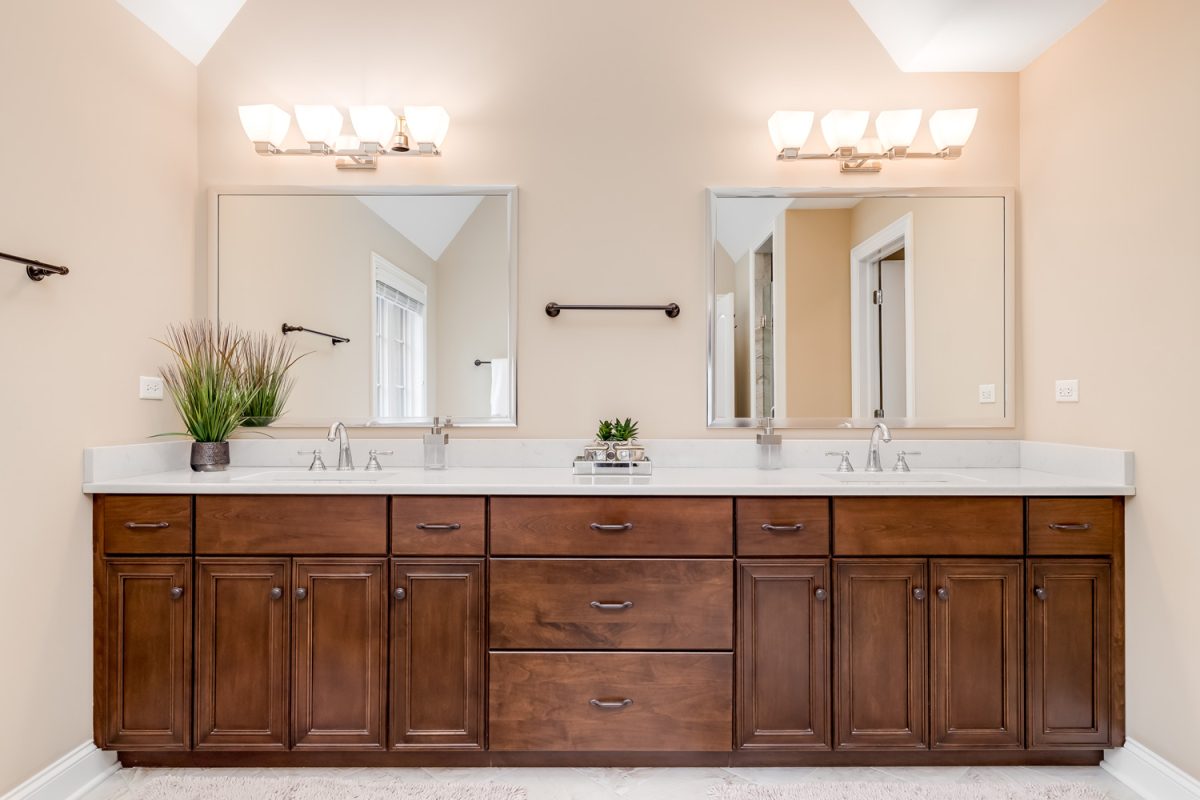
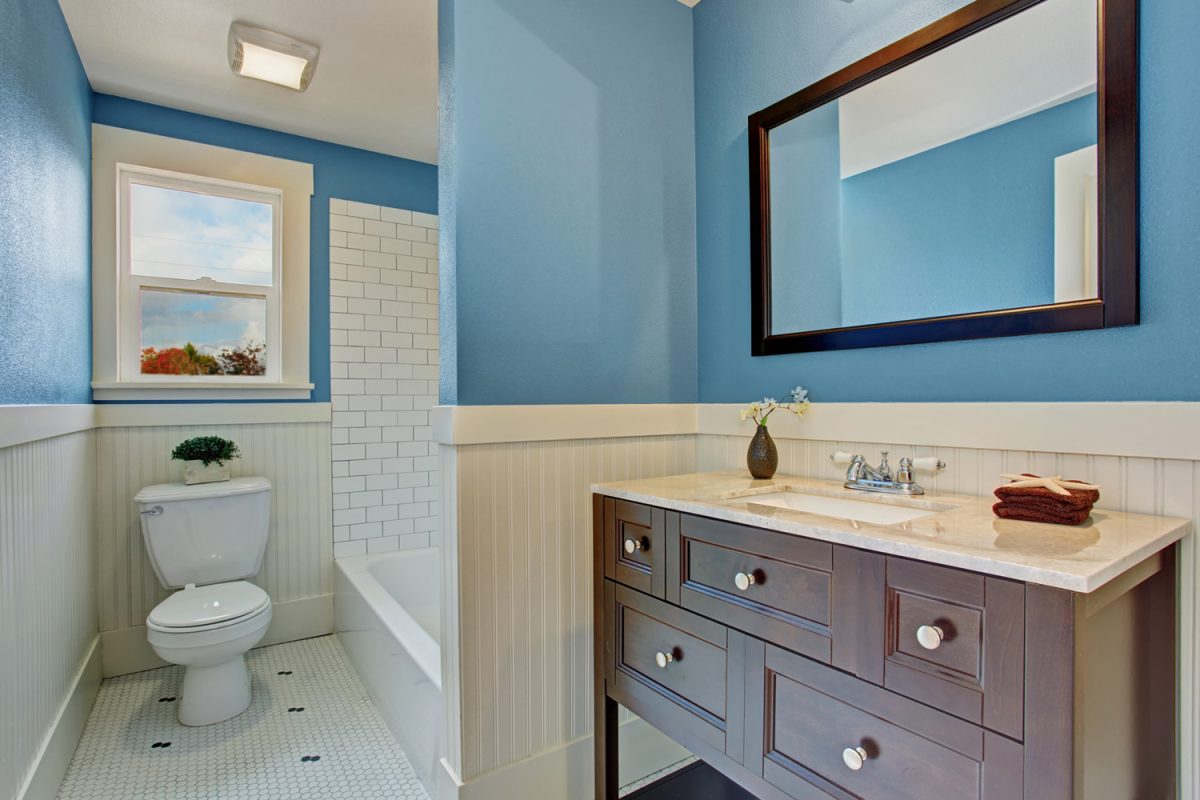
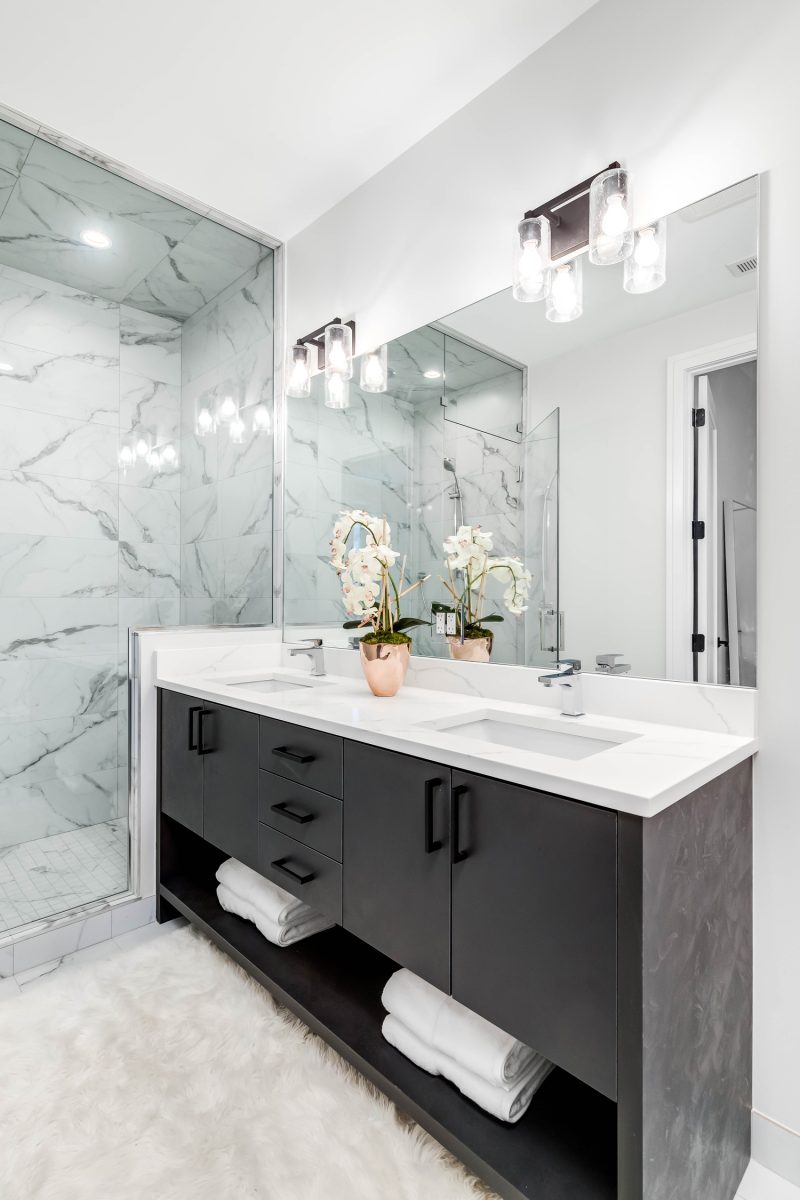
Vanity tops add a pristine touch to your space and that’s why they should perfectly be positioned and ensure no gaps exist to keep their integrity. So, keep reading further and learn how to deal with this issue.
What Causes Gaps Between Vanity And Wall?
The most common cause of gaps between the vanity and wall is simply the structure of the vanity itself since some are designed to have longer edges and legs, specifically antique types.
Another possible cause of gaps between vanity and wall is improper vanity installation. This is also common in kitchen countertops too.
Another thing to consider is the leveling and fastening of the base in drawers and cabinets. When they become frequently pulled away, the vanity will move and loosen, resulting in gaps.
How To Fix The Gaps
Gaps can be an unpleasant sight, even more so when you’re a meticulous person. In the next section, we are going to discuss two methods to help you fix the gap between the vanity top and the wall.
Caulk The Gap
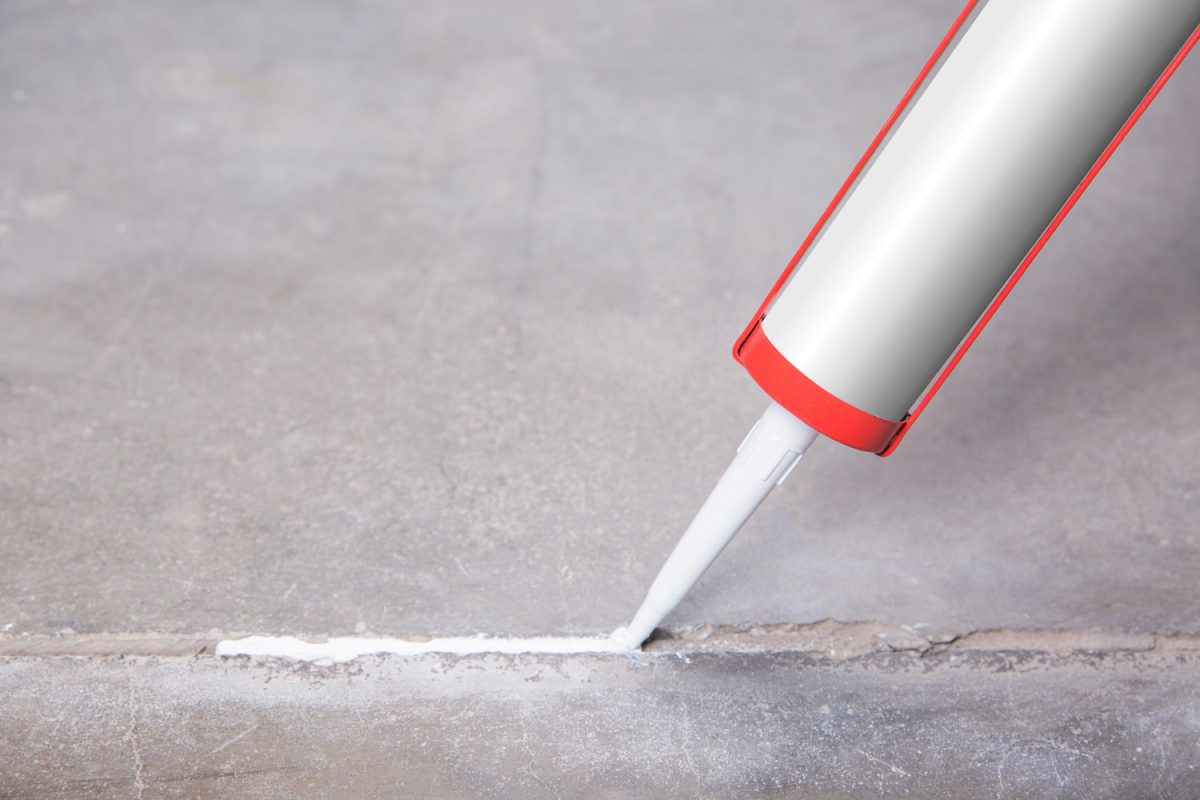
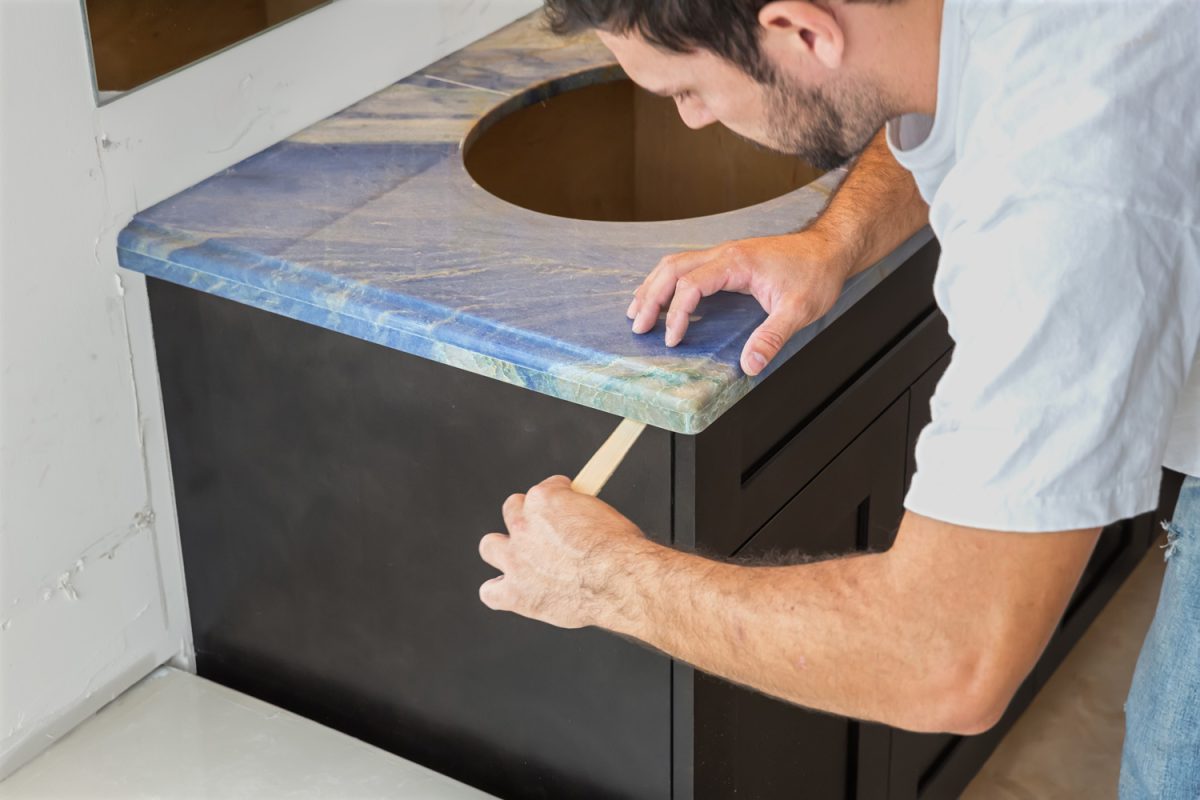
For small gaps like half an inch thick or less, caulking is the easiest solution. You can either use latex or silicone caulk to fill in the gaps. Not only are these types of caulks durable, but they produce quick results.
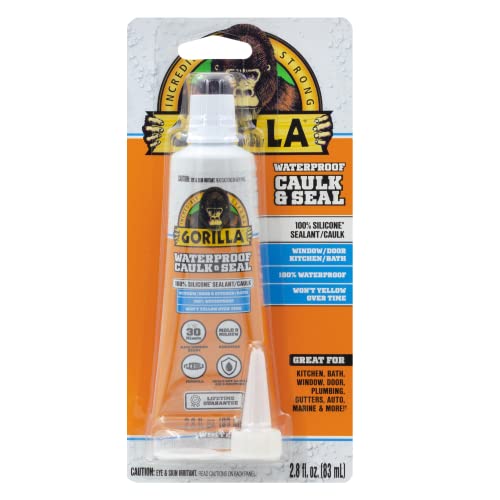
This Gorilla white silicone sealant is a great product to caulk the gap in your vanity tops and wall. It’s completely waterproof, plus it doesn’t yellow, shrink, or crack over time!
![]()
Click here to see Gorilla’s silicone sealant on Amazon.
Here are three easy steps to follow when caulking small gaps:
- Completely clean the area to prepare it for the process. Ensure that it’s dry before caulking.
- Using tape, line the walls so that you won’t get caulk on them. This technique also helps you get a straight line.
- Fill in the gap with caulk and be sure that it completely dries before allowing any activities on the vanity.
Watch Paul Ricalde’s YouTube video for a demonstration of the steps we have discussed:
Trim The Gap
For larger gaps, you can install a trim over the gap. This is not only functional but decorative and budget-friendly as well.
There are a variety of trims you can use, but the most common trims are the rectangular molding and the quarter-round trim for vanity tops.
Here are some steps to follow when trimming the gap:
- Measure the length and width of the gap so that you’ll get the accurate numbers for the trim.
- If possible, use a construction glue to stick the trim. You can make use of nails, but this might ruin your vanity.
- Prime and paint the trim for a smooth, finishing touch. You can also do this before sticking the trim on the vanity to lessen mess and errors.
For your convenience, you can take a look at this YouTube video by ManhattanWoodProject for a visual representation of the steps provided above:
Can You Make Use Of A Backsplash For Vanity Top?
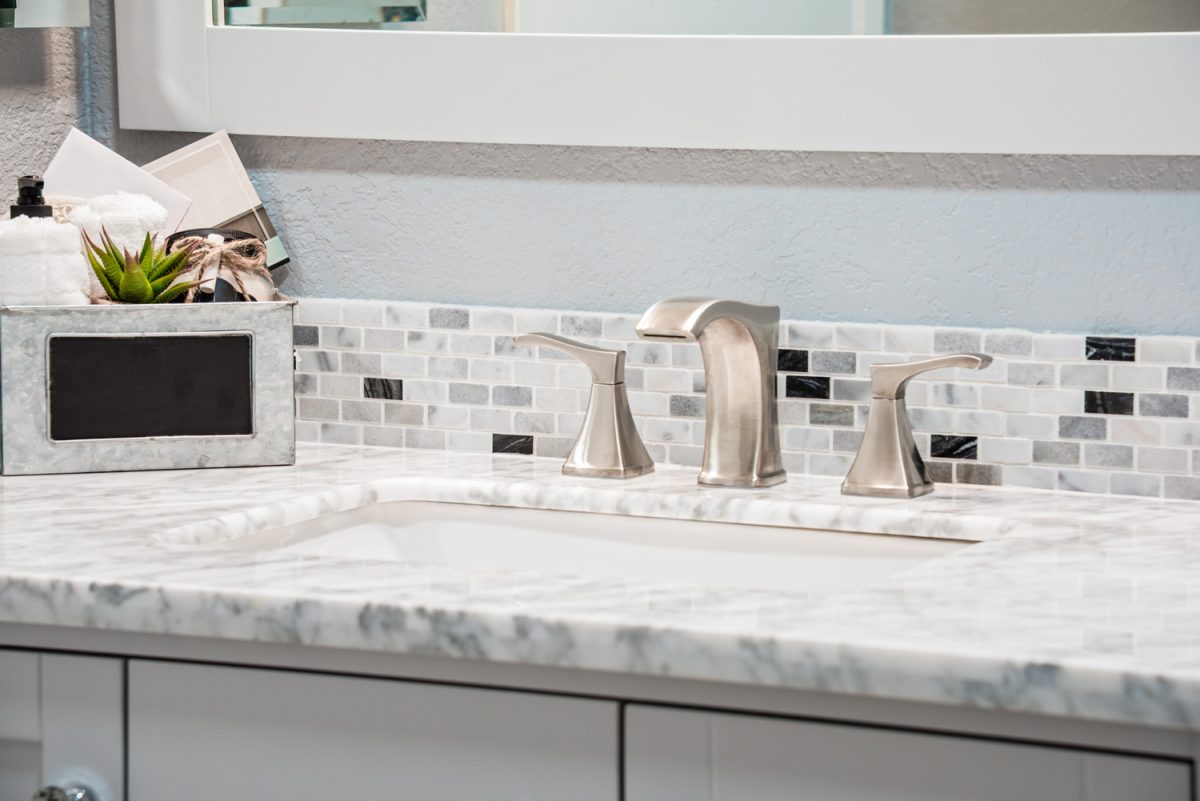
A backsplash is also a convenient solution for covering large gaps between vanity tops and walls.
It’s highly functional plus it offers you the advantage of being trendy because there are a lot of color options, sizes, designs, and textures available. This should provide you with enough style and freedom to choose what suits your vanity’s needs and your liking.
A backsplash is also great when you’re more concerned about water moisture reaching the back of your wall when you’re using the sink since it covers these areas completely.
Here’s a guideline for you to follow when installing a backsplash to your vanity top:
- Thoroughly clean the area and ensure that it’s dry and dust-free before actually starting the installation.
- Measure the area where you’re going to install the backsplash. If possible, mark the areas you’ve measured to ensure that you’ll completely fill in the gaps.
- Using a tiling trowel, apply a coat of tile adhesive.
- Apply the tiles into the layer of the adhesive and secure it by pushing it slightly.
- Make sure that the tiles are placed correctly before letting the entire adhesive dry.
- Remove the side spacers with new tiles. Remember, the top and bottom spacers should remain intact until you’re finished completing the whole row.
- Repeat all the steps until you completed the entire backsplash.
- Dry the adhesive overnight. Do not yet allow water near the area.
- Remove all the spacers and other markings you used in the area.
- Apply the grout into the tiles and press it thoroughly into its spaces.
- Finally, remove the grout residue with a cleaning solution and clean the entire area where you have worked on.
Watch this YouTube video by StatUp Box for a step-by-step guide to installing a backsplash:
How Do You Avoid Gap Between Vanity Top And Walls?
In interior design, the phrase “prevention is better than cure” is also applicable to issues that arise in the household, specifically with gaps between the vanity top and walls.
When this issue isn’t addressed immediately, water may collect between the vanity top and wall. This will cause damage to the vanity’s wood, making it a breeding ground for mold and bacteria.
To avoid such things, here are some crucial steps you need to go through prior to installing a vanity top:
- Carefully plan everything. This means that you should be decisive on where to position your vanity, and get the accurate measures on the wall and the vanity top.
- Using chalk, mark the areas where your vanity will be placed.
- Remove the sink.
- Check if the wall is straight. If it’s crooked, there’s a chance that a larger gap can occur between the vanity top wand wall, which gives you a bigger gap to fill.
- If your walls requires some work, make sure that you immediately work on this before installing the vanity top as this gives you more covenience to do the adjustments.
- You can scribe or sand the wall to prepare it for vanity installation.
- Ensure that the wall is entirely dry and levelled before mounting the vanity top.
- With basis to the marks you made in Step 2, intensively place the vanity onto the wall.
- Mark the positions for the screw holes.
- To stabilize your vanity, add wall plugs.
- Using screws, position the vanity top onto the wall.
- Assess whether the vanity is in the exact position you want it to be.
- Make sure that the sink perfectly connects with its drain and pipes before positioning it into the vanity.
- You can caulk your vanity top to guarantee that a gap doesn’t appear. Doing this also protects the vanity from moisture.
- Ensure that there are no residue or possible debris left in the area by completely cleaning up.
You can also take a look at this YouTube video by Lowe’s for reference:
Does A Vanity Have To Be Flush With The Wall?
Most of the time, yes. Vanity tops are designed to lay flush against the wall. However, in specific cases or depending on the vanity’s design like a floating or wall-hung vanity, it does not need to be positioned directly onto the wall.
Nevertheless, there are a lot of good reasons why vanity tops have to be flush with the wall. Firstly, it provides you with the advantage of having a proper water drainage system.
It makes it easier for you to connect the pipes behind it, and at the same time, it makes the transition of water smooth-sailing as it goes in and out of the plumbing pipes.
Apart from that, a vanity top flush to the wall makes future pairs and reinstallations a piece of cake since it’s going to be simpler to remove it, instead of figuring things out in a much more complicated way.
On top of that, vanity tops flushed onto the wall look absolutely neat and tidy. This lengthens the lifespan and the quality of your vanity.
In Closing
Caulking and trimming are some of the most common ways to fill in gaps between the vanity top and walls. You can also make use of a backsplash if you want to exceed the previous solutions.
Now you’re equipped with useful knowledge on what to do with gaps, go fill it in, and say goodbye to the inconvenient spaces!
If you enjoyed this article, you can also visit:
Can You Use Wall Paneling In A Bathroom? [Is It Waterproof?]