
You may be looking for a good quality bookcase that provides both form and function to your space. If you’re trying to find a good shelving unit that looks classic enough for any designed space, then the IKEA Kallax may be what you’re looking for. It is one of the most popular pieces IKEA has released and you may be wondering how you can customize the Kallax by repainting it. We’ve discovered the best method for you!
Painting the IKEA Kallax is quite simple:
- Make sure to disassemble the unit
- Sand the surfaces with a 120-grit sandpaper
- Prime your surfaces with a good shellac-based primer
- Apply the paint
- Let the paint dry completely
- Apply a layer of quality clear topcoat
The IKEA Kallax is very versatile and you should be able to customize it in no time. If you’re looking for a quick guide on how to repaint it, continue reading because we’ve listed down a how-to guide to help you with this project.
DIY: How To Paint The IKEA Kallax
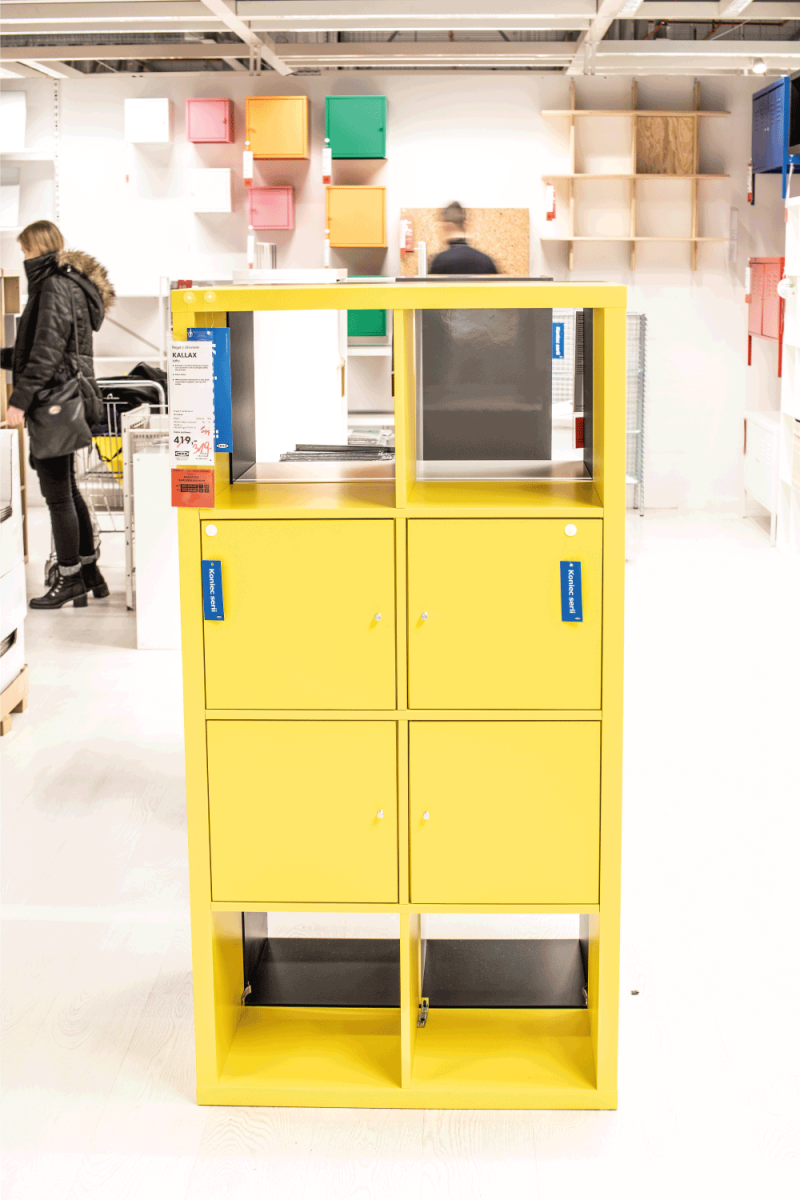
The IKEA Kallax is one of the top-selling series in their shelving collections. It’s a very versatile piece of furniture because it comes in a number of sizes, customizable inserts, and underframes.
This series comes in many color variants but it is quite limited to neutral shades. If you are looking for something that has a little bit more color for your room, the best way to do this is to customize your IKEA Kallax by painting it. Here are the steps on how to do it:
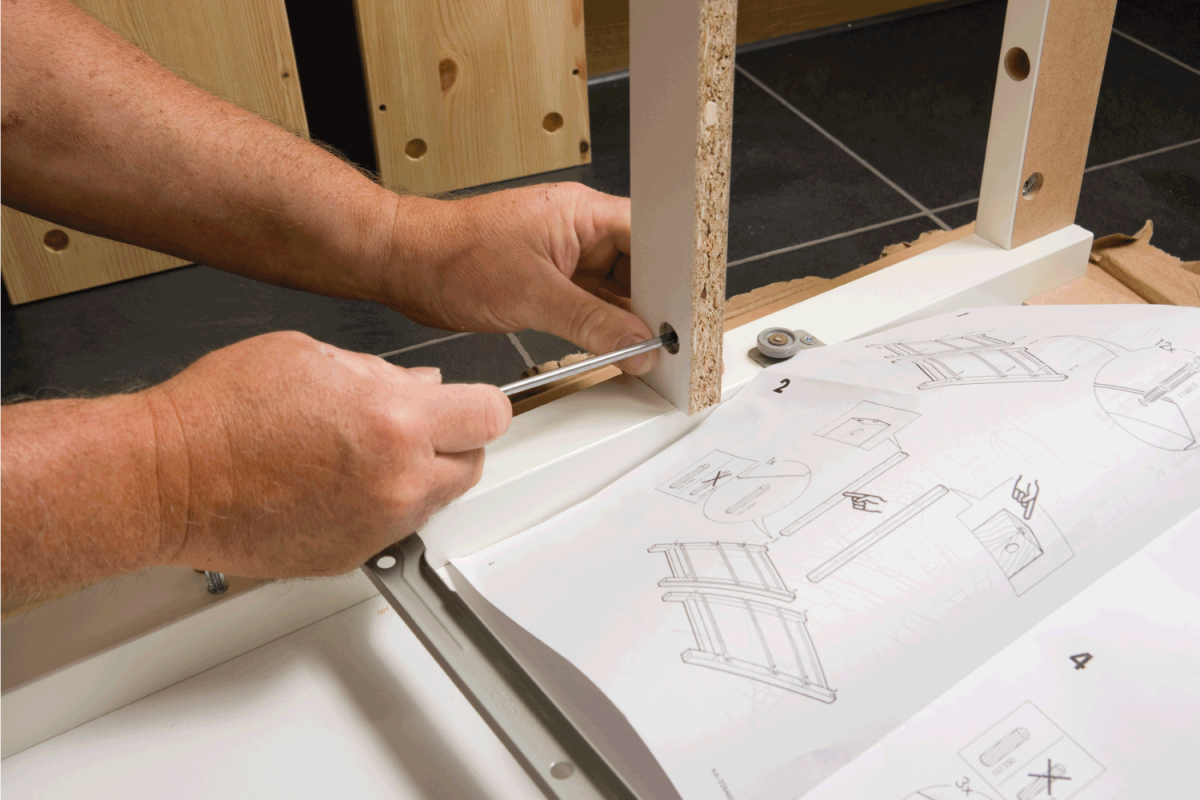
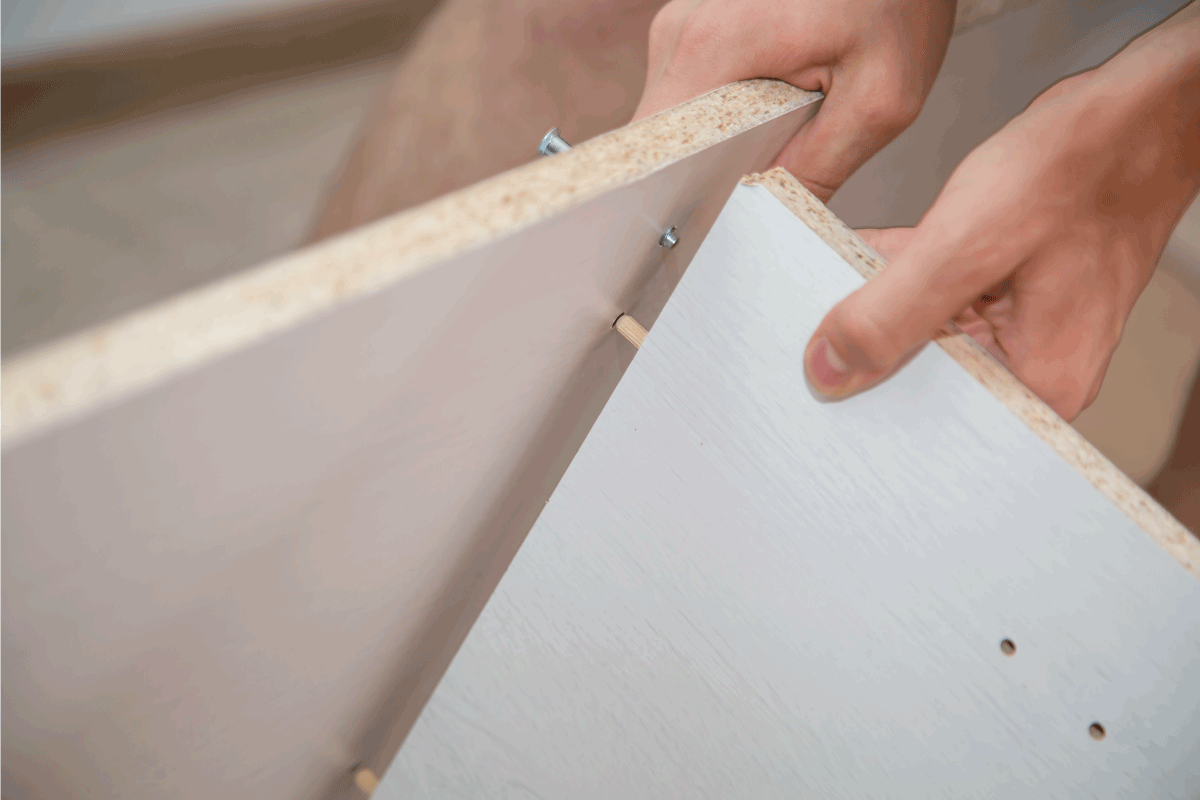
1. Disassemble the Unit
If your IKEA Kallax was already assembled prior to painting it, then it would be a wise idea to disassemble the unit in order to make painting easier.
However, if the unit is brand new and you already have plans of painting them, then you are in luck. Painting the parts before assembling them makes the paint application easy and seamless.
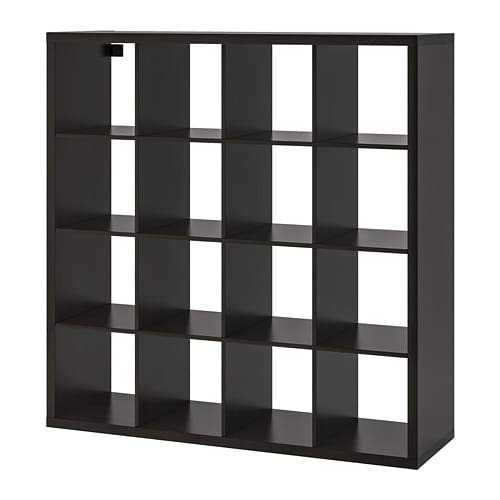
![]()
Check out this IKEA Kallax on Amazon.
2. Sand the Surfaces
The IKEA Kallax is made of laminated veneer chipboard, making it hard for paint to adhere to the surface. In order to work with laminated surfaces such as these, it is important to prepare your unit by sanding it prior to applying primers and paint.
Most IKEA furniture units have a smooth, satiny surface that needs to be sanded lightly in order to create what is known as a key. You can use 120-grit sandpaper for this project by rubbing it in broad strokes to roughen up the laminate surface. It will give the primer and the paint a rough texture to hold onto.
3. Prime All Surfaces
If you’ve had experience with painting other surfaces before, you will know that priming is an ideal step to ensure that the paint applied will not chip or crack. A good primer will help your paint adhere better to the surface of what you are painting and it helps to make your paint more durable.
For the IKEA Kallax, one of the highly suggested primers to use is a shellac-based primer. It would be best to use mini roller brushes to apply your primer because it doesn’t leave brush marks on your surface.
Once the primer has been thoroughly applied and has dried, it is best to go over it with medium to high-grade sandpaper to remove small bumps that might show up when painting.

![]()
4. Apply the Paint
Once you’ve done all the preparation needed and the primer is thoroughly dry, you can now start painting your IKEA Kallax. There are many choices you can use for painting these units, and it all depends on what look and style you’d like to have for your furniture.
A few paint suggestions you can use for painting your IKEA Kallax would be gloss latex paints because of their durability and brightness. If you’d like to have more of a shabby chic look, a good choice would be to use chalk paints to help give your furniture that vintage feel.
Whichever paint you choose, make sure that it works well with the primer you used.
5. Let It Dry
After painting your unit, it is best to inspect all the pieces to see if you have applied the paint evenly and on all corners. Make sure to leave your pieces alone to dry and cure properly so that the topcoat will adhere to it completely.
Letting your paint cure will also prevent your paint from chipping and remember to follow the instructions on your paint can in relation to drying times. This will ensure that your project will be at its optimum best.
6. Put a Layer of Topcoat
When your furniture pieces have all cured and dried completely, it is best to put a layer of topcoat on it—but this step is also optional. Depending on the finish you are going for, you can either leave out your unit with just the paint on or add a layer of topcoat for extra protection.
If you would like to add a topcoat to your painted piece, there are several varieties you can choose from. Pick a topcoat that works best with the paint you have used in order to produce the best finish for your surfaces. One of the most suggested topcoats is a transparent polycrylic sealant that comes in different finishes.

![]()
Click here to see this polycrylic protective finish on Amazon.
How Do You Customize an IKEA Kallax?
The IKEA Kallax consists of basic cube shelving units and it is available in multiple sizes. This alone makes it easy for you to customize your IKEA Kallax because you can mix and match the sizes to fit together in your space.
IKEA also offers pre-made options to customize your IKEA Kallax with the addition of shelf doors, drawers, and baskets to add different storage options for your unit.
However, there are also other ways for you to customize an IKEA Kallax. We’ve listed down a few options that you might want to try:
Stack them together
[PIN id=”3729612197088440″ description=”hide” size=”large”]
[/PIN]
Turn the IKEA Kallax on its side and turn it into a bench
[PIN id=”357825132906568457″ description=”hide” size=”large”]
[/PIN]
Add legs to your IKEA Kallax
[PIN id=”89720217565419790″ description=”hide” size=”large”]
[/PIN]
Add some doors or lighting
[PIN id=”58828338872092296″ description=”hide” size=”large”]
[/PIN]
Use decals to add a pop of design to your IKEA Kallax
[PIN id=”24699497944745431″ description=”hide” size=”large”]
[/PIN]
How Do You Style an IKEA Kallax?
With the versatility of the IKEA Kallax, it is not surprising that it can be used for many different spaces in your home. By customizing it depending on your needs, this particular furniture piece can not just add storage for your space, but it can also completely transform it.
Because of its design, you can choose to use the IKEA Kallax not just as a storage shelf, but also as a bench, a bed riser, or even as a kitchen island. There are multiple ways to hack the IKEA Kallax, and the ideas are endless.
In Conclusion
The IKEA Kallax is a very versatile unit that can be used in many spaces at home. Because of this, it is also a great piece of furniture that can be customized to fit the design of the room.
You can repaint the IKEA Kallax to suit the color scheme you have chosen, and maybe even make it look better by adding a few additional inserts or underframes to it.
Now that you’ve learned how to custom paint an IKEA Kallax, you might be wondering how you can style it for your living space. If you’d like to learn more about adding color to your room, these articles might interest you.